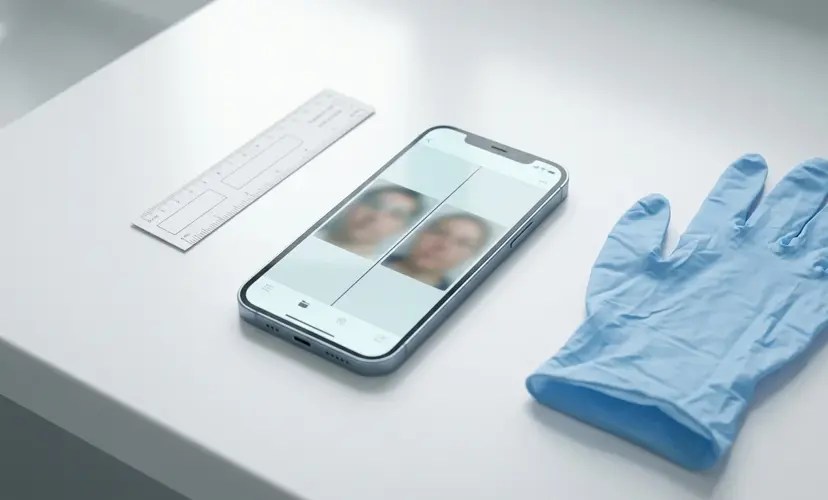
Before-and-after photos can help laser clinics track treatment progress, support client records and show genuine results where the right consent has been given.
However, the photos need to be consistent.
A change in lighting, camera angle, distance or client position can make the treatment area look different, even when the treatment result has not changed very much.
For laser clinic owners and technicians, the aim should be simple: take photos in a way that can be repeated at future appointments.
How to Take Consistent Before-and-After Photos
The most important part of before-and-after photography is repeatability.
Try to keep the same setup every time you photograph the client.
1. Keep the Lighting the Same
Lighting can change how skin texture, pigmentation, redness and shadows appear in a photo.
Where possible, use the same room and the same light source each time. Try to keep the light in the same position and avoid taking one photo in natural daylight and another under strong artificial lighting.
A dedicated photography area can make this much easier.
The aim is not to create perfect studio photography. The aim is to create a fair comparison.
2. Keep the Camera Position Consistent
Camera distance and angle can also change how the treatment area looks.
Try to keep the camera at the same height and distance for each photo. Use the same lens or zoom setting where possible.
A modern smartphone can be suitable for routine clinic photography if it is used consistently and fits your clinic’s data-handling process.
Avoid changing between different lenses or zoom levels without a clear reason.
3. Position the Client in the Same Way
Small changes in head or body position can make a large difference to the final photo.
For facial treatments, you may decide to take a front view and one photo from each side. For body treatments, you may use a standard front, side or close-up position.
Whatever method you choose, repeat it at later appointments.
Some clinics find it useful to mark where the client should stand and where the camera should be positioned. This makes the setup easier for different members of staff to repeat.
4. Use the Same Background
A plain background makes the treatment area easier to see and keeps the comparison clear.
Try to use the same wall or photography area each time and avoid busy backgrounds with equipment, mirrors or other distractions.
You do not need an expensive studio backdrop. Consistency matters more.
5. Keep the Treatment Area Comparable
The treatment area should look as similar as possible in each photo, apart from the actual changes caused by treatment.
Things such as make-up, jewellery, hair position, clothing and facial expression can affect the comparison.
For example, make-up may hide pigmentation or redness, while a different facial expression may change the appearance of lines or folds.
For some treatments, recent sun exposure or tanning may also change the appearance of the skin.
A simple clinic rule for preparing the treatment area before photography can help reduce these differences.

Why Consistent Before-and-After Photos Matter
Laser treatments often take place over several sessions. Progress can be gradual, so it may not always be easy to judge changes from memory alone.
Clear photos can help you compare the treatment area over time, support treatment records and discuss progress with the client.
They can also help create a more professional and consistent clinic process.
Photos should support your treatment notes, not replace them.
When Should Before-and-After Photos Be Taken?
Timing is also important.
Your clinic should follow a consistent photography schedule based on the treatment being provided.
You may take:
- baseline photos before the first treatment;
- progress photos at selected appointments;
- final photos at an agreed review stage.
Try to compare photos taken at similar stages.
For example, do not compare a photo taken straight after treatment with one taken after redness or swelling has settled. This could make the result look more dramatic than it really is.
For treatments carried out over several sessions, having set review points can make progress easier to compare.
What Photos Should You Take?
The type of photos you need will depend on the treatment area.
For facial treatments, a front view and both side views may be enough. A close-up may also be useful if you are reviewing a smaller area.
For larger body areas, take a wider photo showing the full treatment area and a closer photo if extra detail is needed.
For tattoo or pigmentation treatments, it can be useful to take one wider image showing the location and one closer image showing the treated area in more detail.
The important thing is to use the same views again at future appointments.
Consent, Storage and Responsible Use
Before-and-after photography should be part of a clear clinic process.
Clients should understand why the photos are being taken, how they will be stored and what they may be used for.
It is also important to separate clinical photography from marketing use.
A client may agree to photos being taken for their treatment record but may not want those images used on your website, social media or advertising.
If photos may be used publicly, make sure the client understands this and that the correct permission has been recorded.
Client images should also be stored securely. They should be linked to the correct client record and only accessed by authorised staff.
Avoid leaving treatment photos mixed with personal images on staff phones. Use your clinic’s approved record or image-management system where possible.
Do Not Edit Photos to Improve the Result
Before-and-after photos should give a fair view of the treatment result.
Avoid edits that change the appearance of the skin or treatment area.
This includes:
- beauty filters;
- skin smoothing;
- changing skin tone;
- removing marks or pigmentation;
- altering body shape;
- changing brightness to make the after photo look better.
Cropping may sometimes be useful, but it should not change the meaning of the comparison.
The before and after images should be shown under similar conditions so the result remains genuine.
Create a Standard Photography Process
The easiest way to improve consistency is to create a simple photography process for your clinic.
Your process should cover:
- where photos are taken;
- what lighting is used;
- which device is used;
- where the client and camera should be positioned;
- which angles are required;
- when photos should be taken;
- where the images should be stored.
This is especially useful in clinics where more than one technician may treat the same client.
A written process helps everyone follow the same standard.
Before-and-After Photo Checklist
Before taking a photo, check:
- Has the correct consent been recorded?
- Are you using the usual photography area?
- Is the lighting consistent?
- Is the camera at the correct height and distance?
- Is the client in the correct position?
- Is the treatment area clearly visible?
- Is the photo being taken at the correct stage of treatment?
- Will the image be stored in the correct client record?
A short checklist can make the process easier to repeat and reduce mistakes.
Build Consistency into Your Laser Clinic
Good before-and-after photography does not require expensive equipment.
What matters most is having a process that can be repeated.
Keep the lighting, camera position, client position and background as consistent as possible. Take photos at suitable stages of treatment, use clear consent procedures and store the images securely.
For laser clinics, these simple steps can make treatment records clearer and make it easier to review progress across multiple sessions.